Reading time:
2 minA DIY Guide to Replacing A Window Screen
Window screens are essential to any window in your household or apartment to prevent bugs, pollen, or even excess sunlight into your space. However, pets or accidental damage can happen, causing rips and tears to the screen and requiring repairs. Fortunately, window screen replacements are easy! With our selection of fiberglass, pet resistant, sun resistant, extra strength, small insect, and clear advantage screens, ADFORS can help you repair your window screen by yourself quickly and on a budget!
1. Remove the old spline and screen
Remove the existing spline (the flexible cord that holds the screen in place) from the window screen. This can be done by lifting it with a narrow-tipped screwdriver. You can keep the spline after removing it and reuse it to install the new screen, or throw it away and buy a new spline to insert after replacing it.
2. Measure and cut the new screen to size
Measure the screen to the size of the frame. It should overlap the sides of the frame by 2 inches on each side.
3. Insert the spline to secure the screen
Place the existing spline or a new spline into the groove. Use a screen rolling tool to insert the spline over the screen into the groove. Insert the spline around the frame. If the screen wrinkles or gets bunched, pull up the spline and reinsert it to make sure the screen is smooth.
4. Trim the excess screen
Trim the excess screen using a sharp blade to cut the excess from the frame.
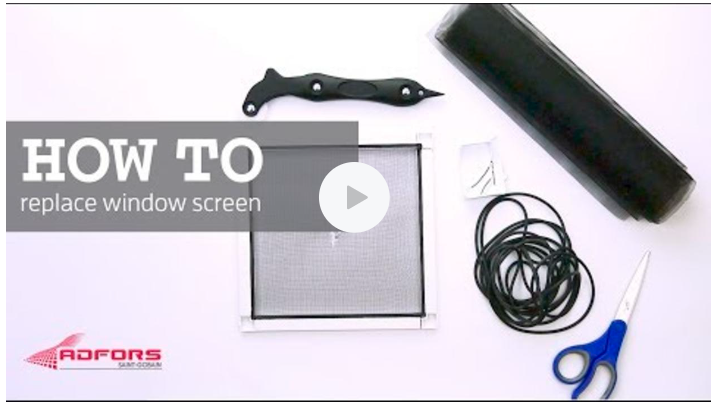
Watch our step-by-step video